
Peplum Jacket: McCall's Pattern 7513 REVIEW
JACKET GOALS: A TRENDY & MID-WEIGHT MODERN EUROPEAN PEPLUM JACKET
This adventure started when my sister told me she was making her winter coat while we caught up by phone. Why didn’t I think of that, I thought. No store-bought jacket ever fits me right.. and this is sort of my thing. I wasn’t having any luck searching for a modern style. So off to Etsy I went to see what vintage patterns there were. If you’ve read my Derby dress blog, you know I’m a big fan of all things peplum. I settled on McCall’s Peplum Jacket pattern 7513. This is the link to it on the McCall’s website- and OF COURSE it’s now on sale for $2.49. Anyway, not a fan of the fabrics they chose to showcase it, but that’s not out of the ordinary. I ordered the pattern and patiently waited.

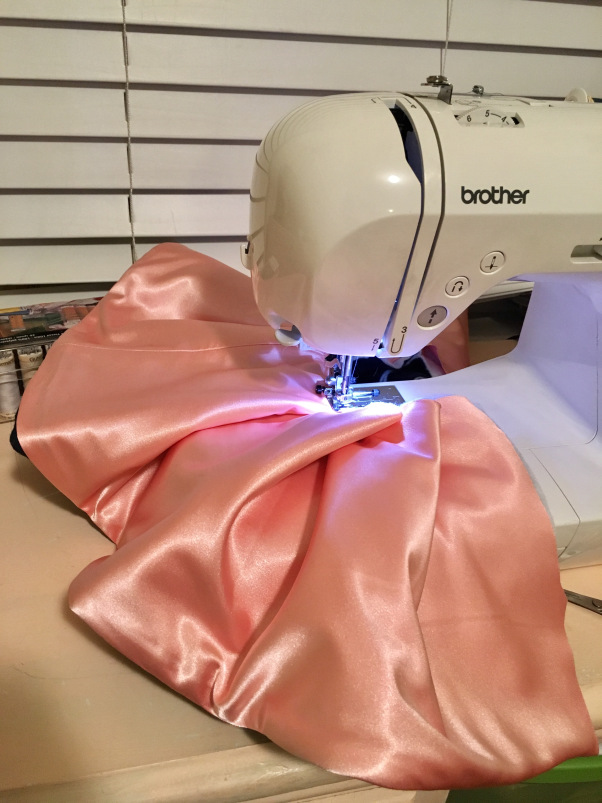
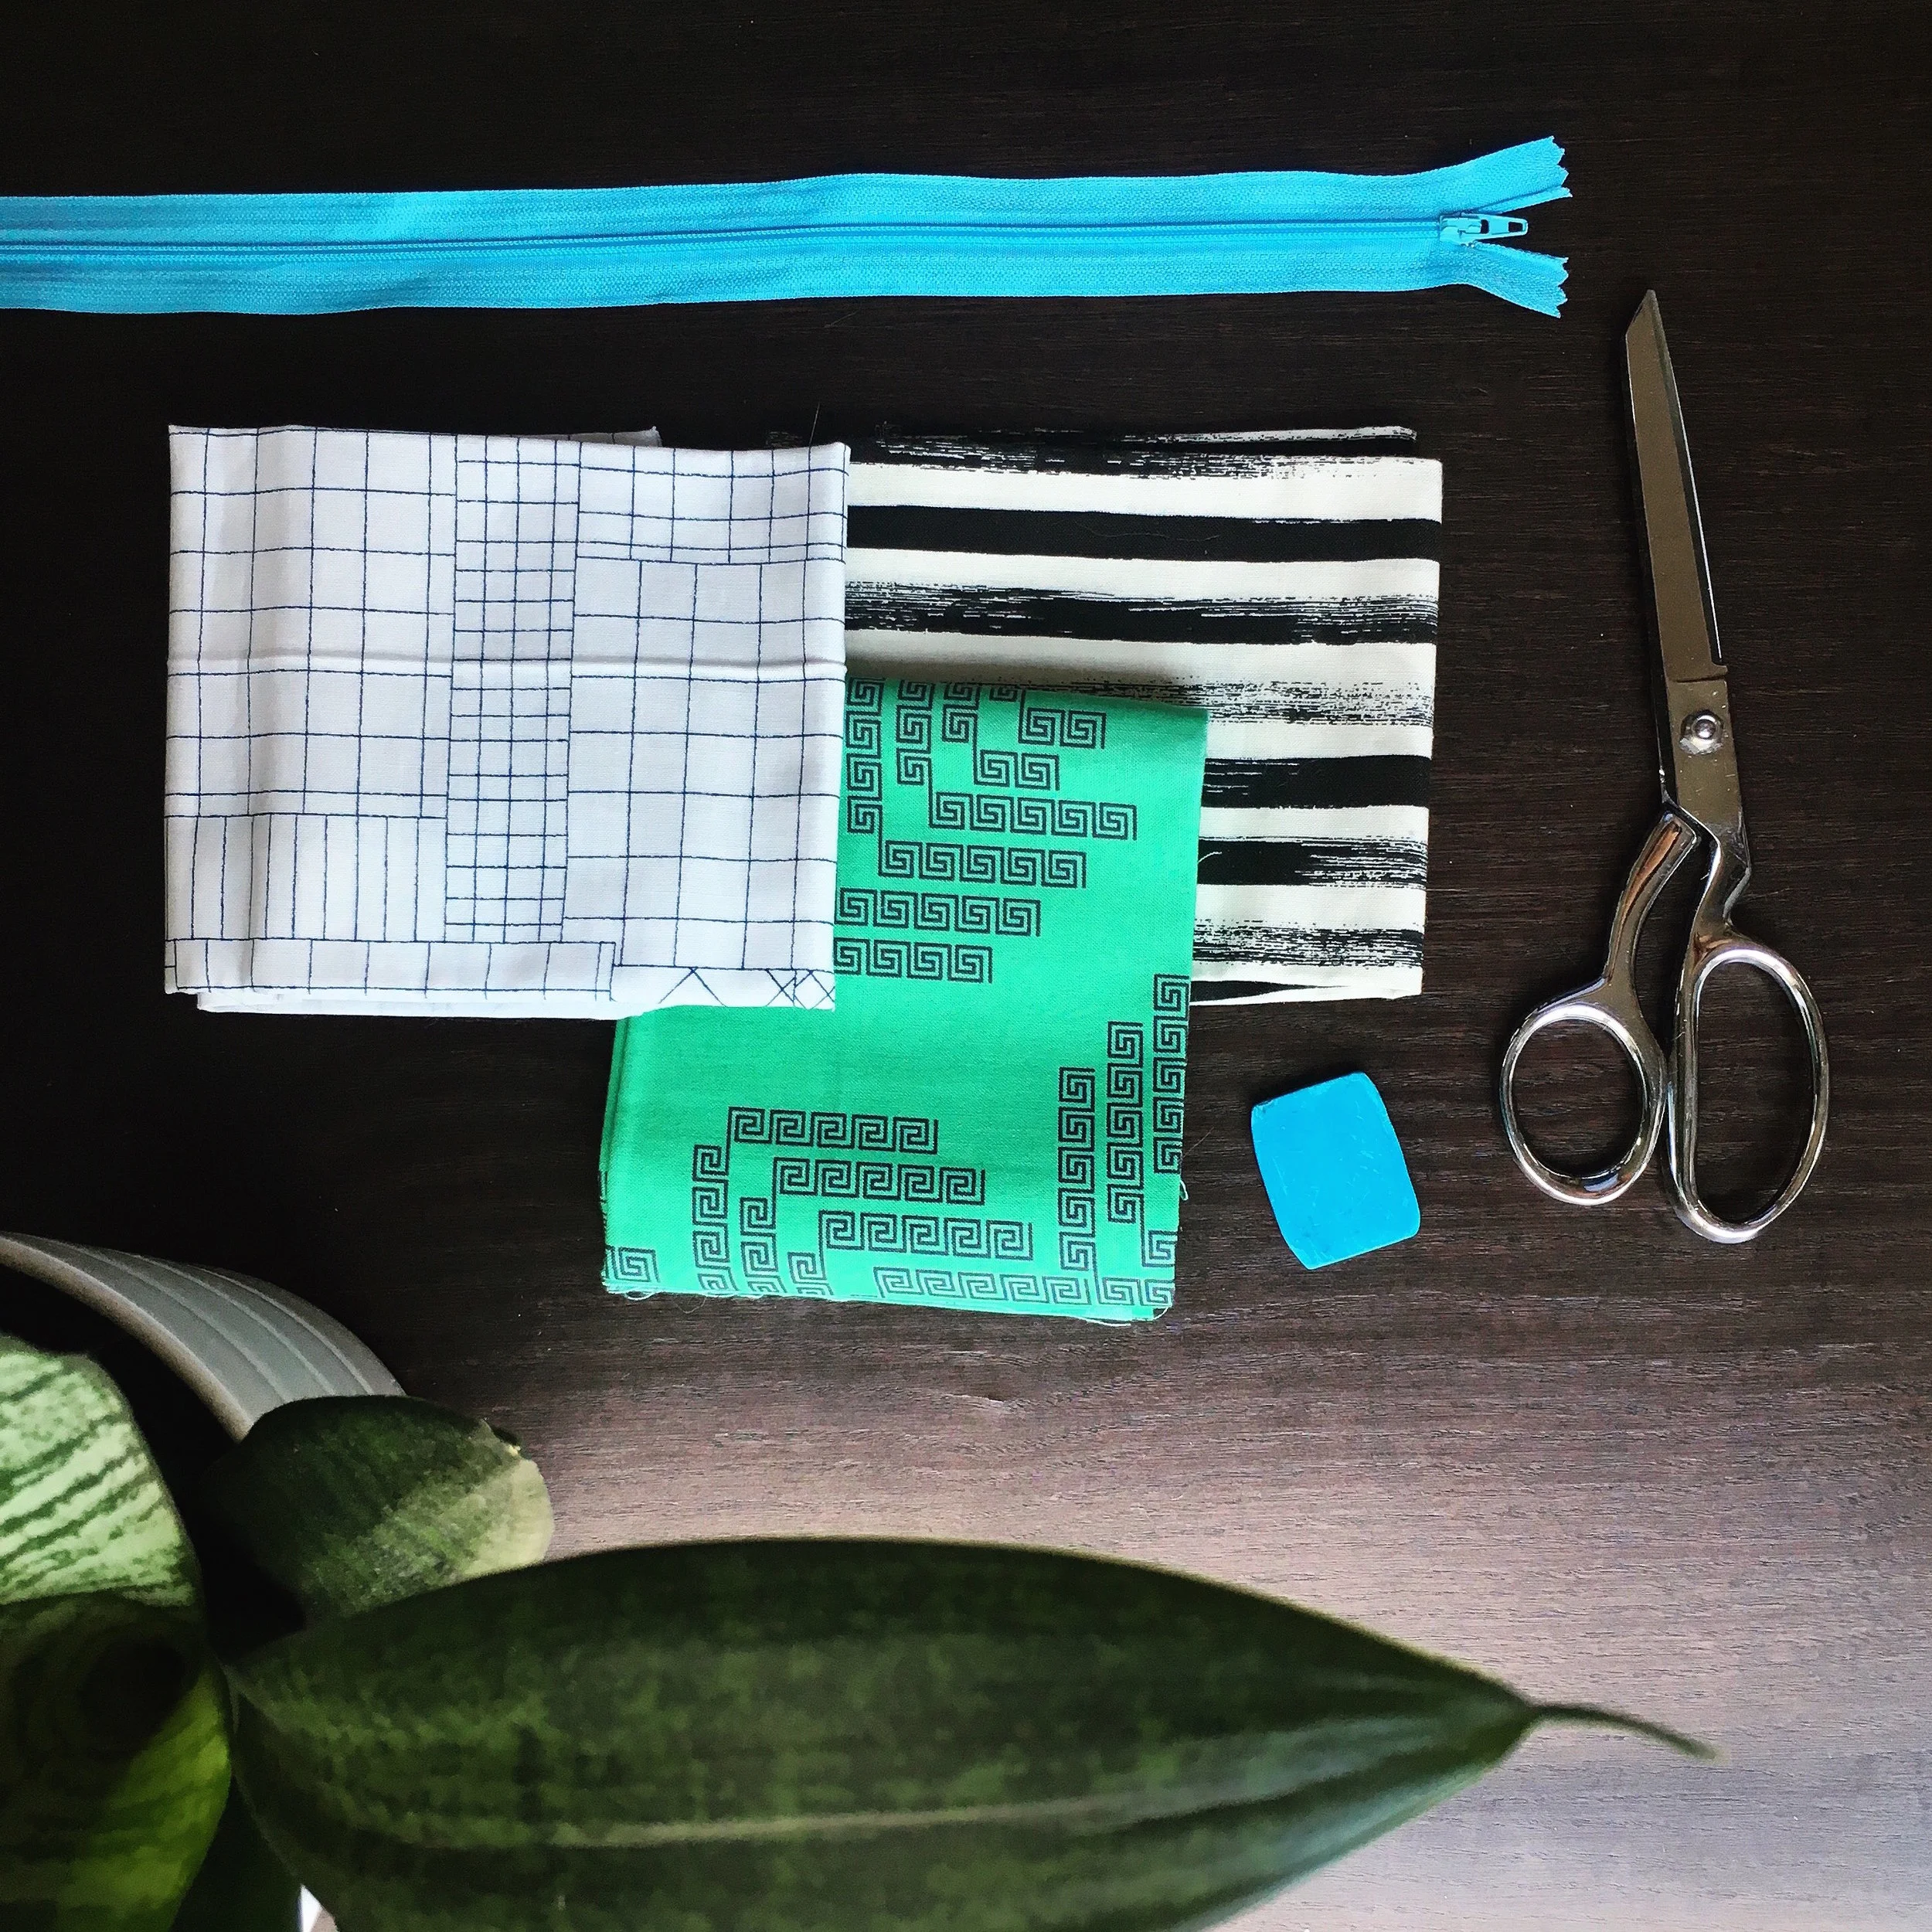
I chose a wool/cashmere blue blend for the outside, and a peach satin for the liner (because matching is SO overrated). And even though i was tempted to cut right into that delicious wool, I’m glad I didn’t. I started with a mockup, using leftover felt I had laying around (felt costs $1/yard, not $50/yard.. pretty sensible choice). Although I didn’t mock up the jacket lining, the outer pieces at least gave me an idea of how it would turn out, and helped me make adjustments. I quickly learned the shoulders weren’t right (even after going exactly by McCall’s measurements/sizing/seam allowances).
HERE WERE MY CHANGES:
- Add .5″ to each edge of the tops of the shoulder pieces that adjoin with the sleeves (so each top outer piece is 1″ bigger).
- Add one inch to the length of the sleeve of you want it to extend beyond your wrist bone. When I made my mockup, the sleeves felt like the proper length, but after i did the seams/lining/etc., I now wish they were a hair longer.
- Don’t cut a liner of the front top jacket pieces (the one that looks like the front outer pieces), you won’t use them (go home McCalls, you’re drunk).
- Don't use fusible interfacing like it says - use sew-in interfacing instead.
- DO use interfacing on the peplum sections. It truly makes a difference in the ruffle and structure.
- DO use fusible interfacing on the top front sections. The pattern didn’t call for this, but when we took these photos, I noticed a small bit of stretch in the front sections compared to the back pieces that used it.. not good. If I had interfaced the front sections, the darting would’ve been more shapely and would hold its own better over time.
- DO put a button (or two!) on the bottom peplum section. Obviously I didn’t, because there were only 5 of the charming little horse buttons I fell in love with at the shop, and I thought it would look fine. However, the reason for those buttons is so that the weight in the back of the peplum isn’t pulling the front of it open.. sooo McCall’s had it right in that aspect (whoops).
- Adjust your top front piece’s darting correctly before you move on. You won’t get another chance to get it perfect. To me, I wished I had checked the darts before trimming the allowance the way the pattern called for. Personally I think the darts come up too high. YMMV here, but sometimes it’s best to eye it for YOU, instead of trusting the pre-made marks.
- Sew your liner (front sides together) to your peplum ruffle first before basting the ruffle together. Then baste your ruffle into the back pieces but don’t sew them yet.
- Use quilter’s clips to hold the ruffle together (worth the small investment!) so you can baste it. Between several layers of wool, interfacing, and liner, the ruffles are simply too thick to pin, and you’ll drive yourself insane. Having those clips was a lifesaver, and necessary to get the peplum right.
- When you connect the two peplum pieces, baste the ends of them to the jacket’s top front pieceFIRST before sewing over the basting stitches to your actual ruffle. If you don’t do this, you’ll find that any misalignment of your ruffle will mean the front pieces won’t match up. This way, however much ruffle you have, you can ease the amount into every ruffle, instead of packing it into the final tuck.
Really hope this helps anyone else thinking of making this pattern. While the directions in the last half are a bit vague compared to the first half, this McCall’s pattern was probably better than others I’ve tried (will try to do more reviews more often). And the outcome (I think) is adorable!


Do you have any questions about this pattern? I’m happy to help: musiccitysewing@gmail.com